Sewing Faux Leather And Leather Together In Few Simple Steps

leather

It is imperative that you buy good quality leather at appropriate weights. A leather weighing more than 2 oz becomes thick. You can also buy recycled ones for ethical reasons. There are several options online to make your purchase. Before you begin sewing, it is necessary to arm yourself with core competencies. Gather all the tools and supplies beforehand. Make sure to grab a packet of leather needles. It is ideal to purchase them because they are explicitly crafted to handle faux leather and leather without damaging the hide. Leather needles feature with a minor cutting point so; it is essential to change them frequently.

Switching leather

The leather tends to cling to the needle plate, so it is advised to use a regular walking or a Teflon foot. For a better glide, frosted tape solves the purpose. Before practicing on leather, choose old clothes to arrive at the right stitch length. Ensure that you avoid making undesirable holes in the leather. Select hairpins or bulldog clips to clutch both the seams. Any mistake in the process will force you to remove the stitches which in turn weakens the seam. Leather does not allow you to backstitch. After sewing, pull the thread back and secure it with a hand knot along the stitching line.

At the seam intersections, where the leather becomes bulky choose a hump jumper to sew evenly. Utilizing durable polyester thread for sewing is imperative. Ensure to inspect your leather thoroughly for any weakness or flaws before stitching. You can choose to interface the weak areas to stabilize them. Always cut through a single layer. You can either use a rotary cutter or scissors to make your cuts. It is essential to mark the notches on the back side of the leather. The stability of leather is greater in the center than at the borders, so group the parts accordingly. Before sewing, make sure to prepare yourself adequately.

Read Also – Altering Your Jeans To Provide A Perfect Fit

Buttonhole Sewing – The Better Way

button hole

Everybody who loves sewing sometimes had issues with sewing buttonholes. Sewing itself is not an easy task to complete. If you keep some important things in mind, you can make beautiful buttonholes all the time when you want to sew. If you want to sew a buttonhole that lasts for a long time, then the major thing that you need to keep in your staple box is the Fray helper. A fray helper will prevent the threads from tangling when you try to insert the button. A fray helper is an important thing as it can help you for a long time. So when you buy a fray helper, try to buy that in big numbers.

Do not frantically cut the buttonhole that later you will be disappointed. A correct buttonhole cutter can help you get the sharp and beautiful openings. Along with a buttonhole cutter, try to buy a buttonhole foot also as it can help you get a perfect buttonhole all the time you sew. These things can help you sew the buttonholes perfectly. You can buy these things in big boxes so that in future you do not have to g again and buy one.

Before sewing a buttonhole, make sure that you have got the correct area for installing the buttonhole. Tear away stabilizer is better than using needle and thread as it can help the threads from fraying. Before you start sewing the buttonhole to the main fabric, practice it and then go ahead and install the buttonhole. If not your efforts might get wasted. Once you are confident enough to put the buttonhole after the practices, you can then directly install a buttonhole. Make sure that the bobbin thread is not visible. A good buttonhole will not be having a bobbin thread that is visible.

Piping – The Important Way To Sew

Piping

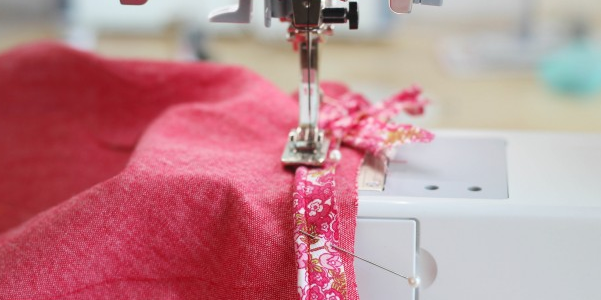
Piping can be made easier if you follow some little tricks which can make the piping job smooth. You need a tape before you start working on piping or you can use a piping foot which can help you in sewing the piping. If you prefer to use a zipper foot, you might have to change your needle position according to it and it might end up in sewing the wrong way sometimes.

Before you start piping, mark the fabric with a marker or a pen the exact length you want the piping to be in. There are different tools available if you want to make piping in round or in straight. You can continue sewing until you reach the piping portion. One inch before the piping portion you need to stop sewing and then start working on piping.

The hardest part of piping is when you plan to attach the piping to clothes like pajamas as it sometimes needs thicker piping around and then thinner piping on the edge. When you are done with the stitching, curl down the piping to get a better view of stitches. To get a better finish you need to sew little by little so that you can get a perfect finish.